EVERSPRING ST802 Manuale utente

Tipo
Manuale utente
ST802
User manual - Manuale utente - Guía de usuario
1
ST802 Flood Detector
Installation Instructions
General Introduction
The ST802 Flood Detector is designed to sense the presence of water in
basements, garage and many others residential and commercial applications,
providing early warning of developing floods. Its great compatibility with our
U-Net family security products makes it suitable for smart home cloud based
platforms such as Homesys.
Product Layout
The Flood Detector consists of a sensor probe connected to a main unit
through a 3m long cable.
Binding with Homes
ys
1. Unscrew the screw from the bottom edge of the main unit. Then detach
the back mounting plate by sliding it downwards.
2. Remove the battery cover by removing its screw.
3. Prepare three AA 1.5V batteries. Do not insert them into the unit yet.
4. Log into the Homesys account from a web browser.
5. Select “System”, then “Add a Device”,
Back
mounting
p
late
Battery
cover
Main unit
LED
Probe tip
Sensor probe
2
6. Select “Flo
od Detector”.
7. The following screen will appear. This means the gateway is entering
binding mode.
8. Insert the batteries with correct polarity at this point.
9.
The screen below will appear in 10 seconds if the proces
s is successful.
10. Time-out will occur if the binding process was unsuccessful. Please refer
to the Manual Binding procedure in the Troubleshooting section.
Testing
1. Prepare a glass of water and dip the tip of the sensor probe into the
water.
2. The LED will flash orange and a beep sound will be heard.
3. The gateway will then register a flood event and a notification will be sent
to the smartphone App.
4. If the test is unsuccessful, please refer to the troubleshooting section.
5. Attach back the battery cover and screw it tight.
Mounting the ST802
A clean
smooth surface is required to securely mount the Flood Detector. The
main unit should be placed as high up as possible on the wall to improve
communication and prevent from coming into contact with water in case of
flood.
The tip of the sensor probe should be mounted at a height from the floor at
which the probe is intended to detect the flood level.
As shown below, secure the flood detector in place using the supplied cable
racks and probe racks which first are drilled into the wall.
3
.
Maintenance
1. Do not immerse this unit in water or any other liquid, only the sensor
probe can enter in contact with liquids.
2. Low Battery: When the battery becomes low, the detector will report back
to the gateway and the
LED will flash red every 30secs when
this
happ
ens. Replace the batteries
at once.
T
roubleshooting
The troubleshooting table lists some possible causes and solutions. Please
contact your original retailer or nearest service center if the below solutions
cannot solve your problem.
Sy
mptom Possible
Cause Recommendation
LED not indicating
and detector not
working
Batteries have not
been fitted or
insufficient battery
power
Check out if batteries are fitted
or replace new batteries
Check if the unit is
out of order.
Do not open up the detector
and send it for repair
LED is flashing red
every 30 secs
Batteries are
running low
Replace batteries at once.
Gateway does react
when detector
detects a flood
condition
The detector cannot
communicate with
the
g
atewa
y
.
Place the uni
t
closer to the
gateway.
Unsuccessful
binding operation.
Follow “Manual binding”
procedure
Manual Binding
1. Repeat steps 5 to 7 of the Binding with Homesys section.
2. Locate Learn button on the back of the ma
in unit.
3.
Press and hold the learn button for more than 3 seconds then rel
ease,
and a 30-se
cond countdown will start. The detector will beep rapidly and
the LED will flash green.
Learn button
Back
mounting
plate
Wall plugs
Screws
Cable rack
Probe rack
4
4.
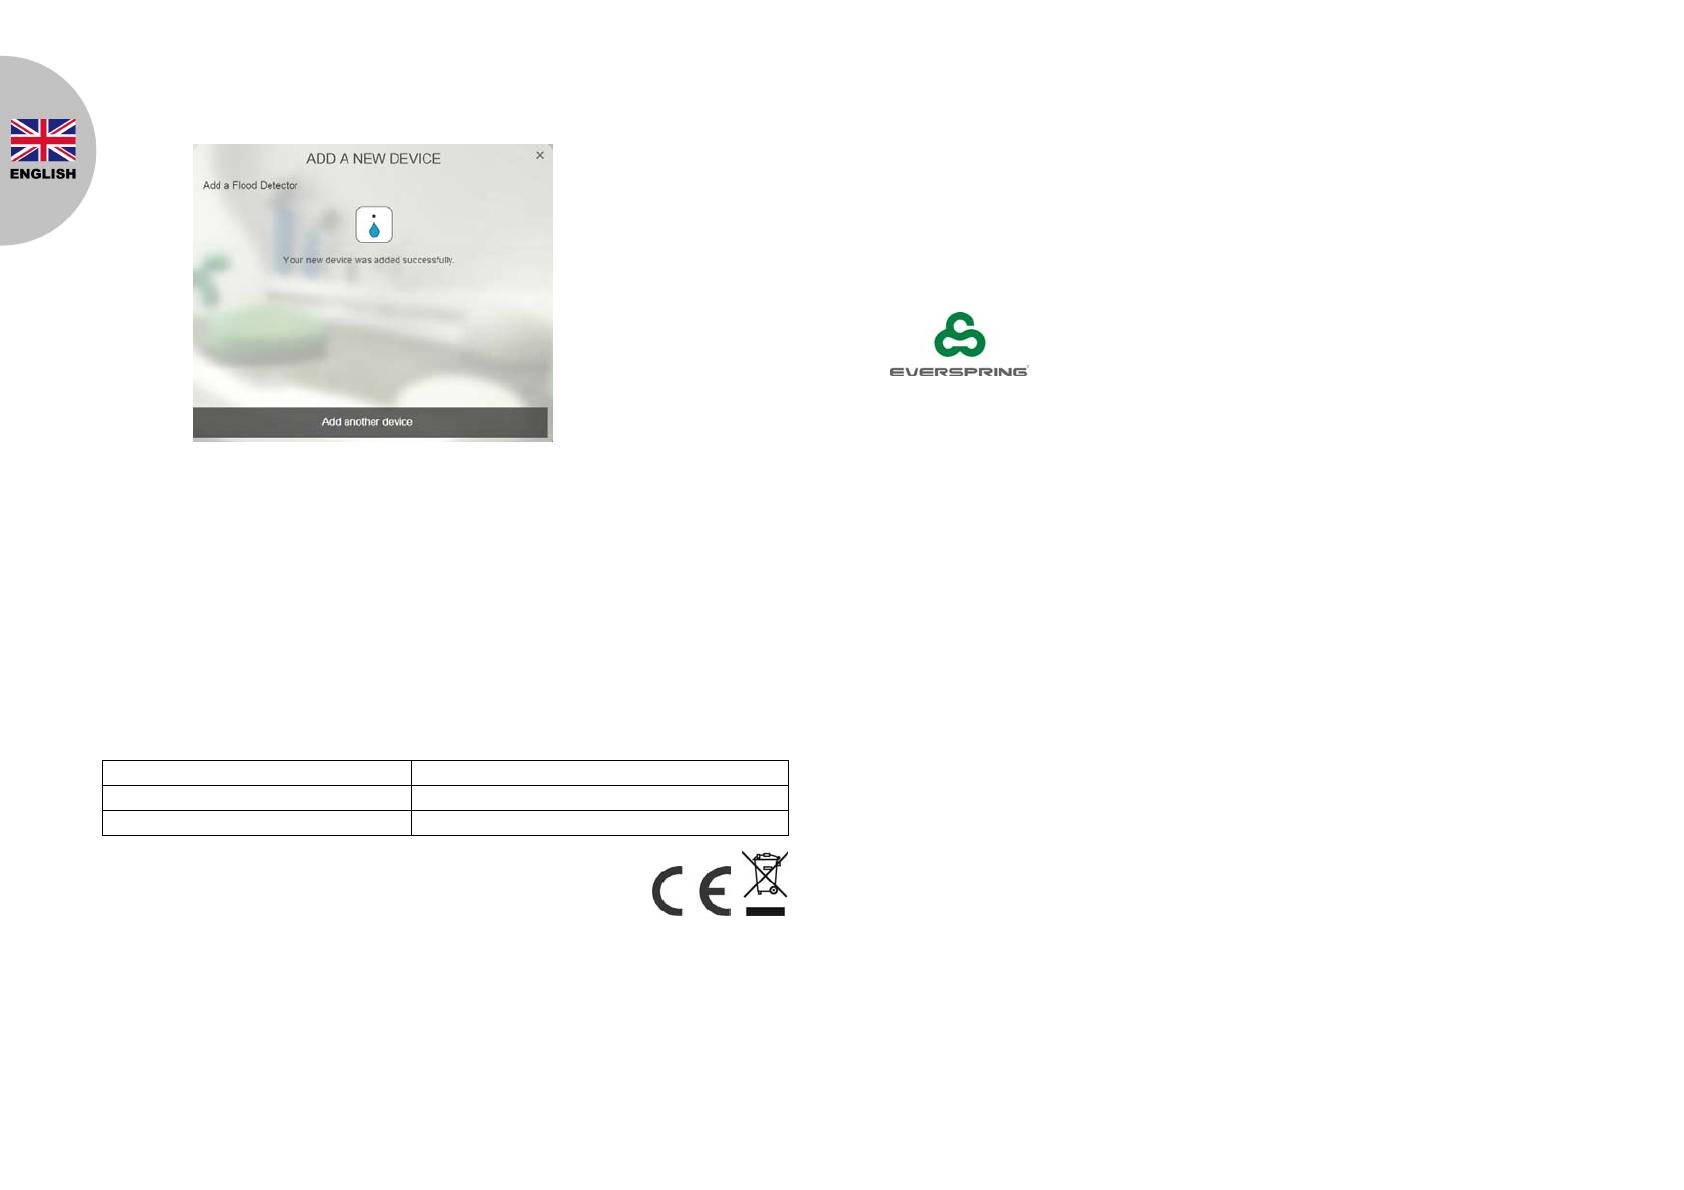
Within 5 secs the detector will emit a long beep indicating the binding
procedure is completed. The screen below will appear indicating the
process is successful.
Reset to factory
default:
To reset detector back to factory default state:
1.
Press and hold the learn button for more than 3 seconds then rel
ease,
the detecto
r will beep rapidly and the green LED will flash gree
n.
2.
Within 30 secs press and hold the learn button again for more
than 6
se
conds until a long beep is heard. This indicates the detector has been
reset back to factory default settings.
Specifications
Battery
Type 1.5V AA batteries x 3
Battery Life About 1 year @ 25°C
Operating Frequency 868MHz (EU)/ 923MHz (America)
** Specifications are subject to change and improvement without notice.
WARNING:
Do not dispose of electrical appliances as unsorted municipal waste, use
separate collection facilities.
Contact your local government for information regarding the collection
systems available.
If electrical appliances are disposed of in landfills or dumps, hazardous
substances can leak into the groundwater and get into the food chain,
damaging your health and well-being.
When replacing old appliances with new ones, the retailer is legally obligated
to take back your old appliance for disposal at least for free of charge.
www
.everspring.com
3F., No. 50, Sec 1, Zhonghua Rd., Tucheng Dist.,
New Taipei City 23666, R.O.C
A501
112396R01
5
ST802
Sensore di liquidi
Guida allinstallazione
Introduzione
ST802 è un sensore che rileva la presenza di liquidi a terra, e che può dare
tempestivamente un allarme in caso di fuoriuscite di liquidi o innondazioni.
ST802 funziona nel sistema smart home basato su cloud Homesys.
Descrizione
Il dispositivo è composto da un trasmettitore e da un sensore di liquidi posto
alla fine di un cavo lungo 3 metri.
Aggiungere ad Homesys
1. Svitare e rimuovere la vite posta sul lato inferiore del dispositivo Quindi
rimuovere la base di installazione.
2. Rimuovere la vite ed il coperchio della batteria.
3. Preparare 3 batterie tipo AA 1.5V. Per il momento non inserire le batterie.
4. Accedere al proprio sistema Homesys da pagina web.
5. Selezionare Sistema” quindi Aggiungi dispositivo,
Base di
installazione
Coperchio
batteria
Trasmett.
Rilevatori
sensore
Sensore
6
6. Selezionare Sensore di liquidi.
7. Appare la seguente schermata. Significa che la centrale IPBOX ha iniziato
la ricerca di dispositivi.
8. Inserire le batterie con la polarità corretta.
9. Se il processo ha successo, entro 10 secondi appare la seguente.
10. Se la ricerca non dá esito, dopo un po il conteggio scade. Procedere con
la procedura di "Ricerca manuale".
Prova
1. Preparare un bicchiere d’acqua ed fare in modo che I 2 contatti del
sensore vadano in contatto con lacqua.
2. Il LED lampeggia ed il dispositivo emette segnali acustici dallerta.
3. La central dovrebbe quindi ricevere lallerta ed inviare una notifica di
allarme.
4. Se la prova non ha successo, consultare la sezione Domande
frequenti.
5. Inserire il coperchio della batteria ed inserire di nuovo la vite..
Installare ST802
E necessario installare il dispositivo su una superficie piatta e liscia. La parte
del trasmettitore dovrebbe essere installata il piu in alto possible, in modo da
non entrare in contatto con lacqua in caso di fuoriuscita.
Le punte del sensore dovrebbero essere installate ad un livello dal quale si
vuole rilevare la presenza di liquidi.
Come indicato nellimmagine, utilizzare I supporti per mantenere il cavo in
posizione stabilel.
7
.
Manutenzione
1. Non immergere il dispositivo dentro acqua o ad altri liquidi.
2. Quando le batterie stanno per scaricarsi, il dispositivo invia una notifica
alla central, ed il LED lampeggia di rosso ogni 30sec. In questo caso
sostituire le batterie appena possibile.
Domande frequenti
La lista con le domande frequenti mostra alcuni problemi ricorrenti, le cause e
soluzioni. Se non si trova una risposta al proprio problema, contattare il
proprio fornitore o il servizio asistenza piu vicino.
Sintomi
Possibili cause
Soluzioni
Il LED non si
accende e il
dispositivo non
risponde
Batterie scariche o
non presenti
Verificare le batterie
Malfunzione.
Inviare il sensore al centro
riparazioni
Il LED lampeggia di
rosso ogni 30 sec.
Batterie quasi
scariche
Rimpiazzare le batterie.
Il LED si accende ma
il dispositivo non
comunica con la
centrale
Il dispositivo non
comunica con la
centrale.
Spostare il dispositivo piu
vicino alla centrale.
La ricerca non ha
avuto successo.
Seguire la procedura Ricerca
manual”.
Ricerca manuale
1. Ripetere i passi da 5 a 7 di “Aggiungere ad Homesys.
2. Individuare il bottone di ricerca sul lato posteriore.
3. Tenere premuto il tasto di ricerca sulla scheda del sensore per 3 o piu
secondi, il LED inizia a lampeggiare e si sentono beep regolari.
4. Entro 5 sec il dispositivo emette un beep lungo per indicare che il
Bottone di
ricerca
Base di
installazione
Tasselli
Viti
Supporti
Supporto
sensore
8
procedimento è terminato ed appare la seguente schermata.
Ripristino a valori iniziali:
Per ripristinare a valori iniziali:
1. Tenere premuto il tasto di ricerca sulla scheda del sensore per 3 o piu
secondi, il LED inizia a lampeggiare.
2. Entro 30 secondi tenere premuto il tasto di ricerca per 6 secondi fino a
quando si sente un beep. Il dispositivo ora è stato resettato a valori
iniziali.
Specifiche tecniche
Tipo batteria
3 batterie 1.5V AA
Frequenza wireless
868MHz (EU)/ 923MHz (America)
** Le specifiche sono soggette a modifiche senza preavviso.
Precauzioni:
Non gettare dispositivi elettronici come normali rifiuti, utilizzare servizi di
raccolta differenziata.
Contattare il proprio comune per informazioni sul tipo di raccolta differenziata
svolto nella propria zona.
Dispositivi elettronici che vengono gettati in natura, possono rilasciare nelle
falde aquifere sostanze dannose pericolose per la salute di persone e di altri
esseri viventi.
In caso di sostituzione di vecchi dispositivi, il venditore è obbligato a prendere
i vecchi dispositivi e gratuitamente deve farsi carico dello smaltimento.
www.everspring.com
3F., No. 50, Sec 1, Zhonghua Rd., Tucheng Dist.,
New Taipei City 23666, R.O.C
ST802
Detector de líquidos
Guía de instalación
Introdución
El detector de líquidos ST802 se puede utilizar en varios lugares como: sótanos,
barcos, edificios residenciales y comerciales; para ofrecer previa alerta en caso
de pérdida de líquidos.
Vista producto
The Flood Detector consists of a sensor probe connected to a main unit through
a 3m long cable.
adir a un sistema Homesys
1. Aflojar y remover el tornillo abajo de la caja de comunicación. Quitar la tapa
posterior.
2. Aflojar y remover el tornillo que detiene la tapa de la batería, y quitar la tapa.
3. Preparar 3 baterias AA 1.5V. No ponerl las baterias de momento.
4. Ingresar a su cuenta por navegador web
5. Seleccionar Sistema y adir un nuevo equipo.
Caja de transmisión
Lado
conductivo
Lado sensor
Tapa batería
Tapa
posterior
9
6. Seleccionar Detector de líquidos.
7. Esta pantalla significa que la gateway está buscando dispositivos
8. Poner las baterías con polaridad correcta.
9. Si dentro de 10 segundos el operación tiene éxito aparece la siguiente
pantalla.
10. Si el operación de búsqueda no tiene éxito. Chequear “squeda manual”.
squeda manual
1. Repetir los pasos 5 ~ 9 de “Añadir a una gateway”.
2. Encontrar el botón de búsqueda en la caja de trasmisión
3. Presionar y detener el botón de squeda por 3 o mas segundos, soltar el
botón. El detector emite unos señales acústicos y el LED parpadea color
verde.
Botón de
squeda
10
4. Dentro de 5 segundos, el detector emite un señal acustico largo para indicar
que la búsqueda tuvo éxito y la siguiente pantalla va aparecer.
Prueba
(1) Preparar un vaso de agua y echar el lado sensor dentro del agua.
(2) El LED parpadea color naranja, y el detector emite señales acusticos.
(3) La gateway recibe una alerta de perdida quidos y envia una notificación al
programa para móvil.
(4) Si la prueba no tiene éxito, chequear “preguntas frecuentes”.
(5) Poner otra vez la cobertura de la batería y apretar el tornillo.
Instalación
Es necesario instalar el detector sobre una superficie llana y lisa. El cable del
sensor es de 3 metros.
La caja de comunicación se debería instalar mas arriba para mejorar el señal
radio y protegerla del contacto con el agua en caso de inundación.
Como se nota en la imagen, Fijar la caja de transmisión a la pared utilizando los
tornillos y las tuercas, y las ataduras de cable para fijar el cable y el sensor.
Mantenimiento
1. No sumergir la caja de comunicación en agua o otros quidos, solo el
sensor de líquidos puede entrar en contacto con líquidos.
2. Baterías: Cuando el nivel de las baterías baja demasiado, el detector envia
una señal a la gateway y el LED parpadea color rojo una vez cada 30seg.
Remplazar en seguida las baterías.
Tapa
posterior
Tuerca
Tornillo
Atadura de
cable
Atadura
sensor
11
Preguntas frecuentes
En esta lista aparecen las preguntas mas frecuentes. Si no se encuentra
solución, llame a su tienda o al centro servicios mas cercano.
ntomas
Causa
Solución
El LED no da señal
No hay baterías o se
agotaron
Chequear si se pusieron
correctamente las baterías o
remplazarlas.
Problema mecánico
Enviar el producto al centro
servicios sin abrirlo.
El LED funciona, pero
no es posible
aprender códigos ID o
no se puede controlar
el dispositivo.
No se añadió con
éxito a la gateway
Intentar con la “búsqueda
manual”.
Interferencia radio
Esperar un minuto y intentar
otra vez
La Gateway no recibe
los alarmas
disparados por el
detector
El dispositivo está
fuera de alcance de
la gateway
Cambiar la posición de la
gateway
No se añadió con
éxito a la gateway
Intentar con la “búsqueda
manual”.
Restablecimiento a valores de fábrica
Para resetear ST802 a valores de fábrica:
1. Presionar y detener el botón de squeda por 3 o mas segundos, soltar el
botón. El detector emite unos señales acústicos y el LED parpadea verde
para indicar que el accesorio esta en espera del señal de la gateway.
2. Presionar y detener el botón desqueda por mas de 6 segundos, todos los
digos ID en memoria se van a borrar. Un señal acústico largo confirma el
reseteo.
Especificaciones
** Las especificaciones están sujetas a cambio sin previa notificación.
Baterías
3 baterias 1.5V AA
Vida baterías
1 o @ 25°C
Frecuencia radio
868MHz (EU)/ 923MHz (America)
12
  • Page 1 1
  • Page 2 2
  • Page 3 3
  • Page 4 4
  • Page 5 5
  • Page 6 6
  • Page 7 7
  • Page 8 8
  • Page 9 9
  • Page 10 10
  • Page 11 11
  • Page 12 12
  • Page 13 13

EVERSPRING ST802 Manuale utente

Tipo
Manuale utente