KingsBox KB06RI-055 Assembly Instructions
- Tipo
- Assembly Instructions

Royal Adjustable Squat
Box

ATTENZIONE!
Se la struttura non viene ssata a terra e/o al muro, puo’
rib-altarsi e/o provocare danni a persone o oggetti in
immediata vicinnanza.
I bulloni per il ssaggio del rig a muro e/o al pavimento non
sono inclusi nel pacco, in quanto per diversi tipi di muro 7 pavi-
men-tazione bisogna utilizzare diversi tipi di bulloni d’ancoraggio.
_ _ _ _ _ _ _ _ _ _ _ _ _ _ _ _ _ _ _ _ _ _ _ _ _ _ _ _ _ _ _ _ _ _ _
OPOZORILO!
Če se struktura prevrne, lahko pride do resnih telesnih
poškodb. Da bi preprečili nevarnost, da se ta struktura
prevrne, mora biti pritrjena na steno in / ali v tla.
Vijaki za pritrjevanje strukture na steno oz. tla niso priloženi, saj
različne sestave zidov oz. tal zahtevajo različne vrste pritrdilnih
elementov. Uporabite take, ki ustrezajo sestavi vaše stene oz. tal.
_ _ _ _ _ _ _ _ _ _ _ _ _ _ _ _ _ _ _ _ _ _ _ _ _ _ _ _ _ _ _ _ _ _ _
WARNING!
If the structure is not secured to the ground and / or to the
wall, it may overturn and / or cause damage to person or
object in the immediate vicinity.
The xing bolts for wall and / or oor are not included in the pack-
age, since dierent types of anchor bolts must be used for dif-
fer-ent wall / oor types.

QTY.
1x
1x
1x
1x
2x
picture
position
position: 3
part name
SquatnBox 268
Profile
Squat Box Leg -
Whell
Squat Box Frame
Squat Box Leg
Squat Box Adj. Pro-
file
position: 1
position: 4
position: 2
position: 5
SAMPLE
Assembly elements:
1x 1x
position: 6
Rubber 50x50x3 Bench Handle
position: 7 2x
Index Plunger 12 mm
position: 8

2x
2X
4x
4x
2x
position: 9
position: 12
Whell 50 BV
M12x90
Rubber Leg 60x60
M12 Nuts
M12x90
positon: 10
position: 13
position: 11
Assembly elements:
8x
M12 Washer
position: 14
2x 2x
position: 15
Profile Reducer Torban M10x30
position: 16 2x
M10 Washer
position: 17

2x
4X
2x 4x
position: 18
position: 21
M10 Nuts
M6 Nuts
M6x50 M6 Washer
positon: 19 position: 20
Assembly elements:

15
8
15
8
Assembly instruction:
21
20
1
20
19
9
3
13
14
14
11
1
12
14
14
7
13
3
2
STEP: 2
STEP: 1

Assembly instruction:
4
6
18
17
4
16
5
STEP: 3
STEP: 4
-
 1
1
-
 2
2
-
 3
3
-
 4
4
-
 5
5
-
 6
6
-
 7
7
KingsBox KB06RI-055 Assembly Instructions
- Tipo
- Assembly Instructions
Documenti correlati
-
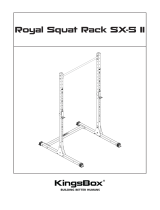 KingsBox KB04RI-009 Assembly Instructions
-
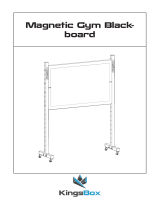 KingsBox KB06RI-064 Assembly Instructions
-
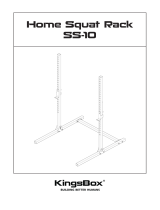 KingsBox KB04RI-010 Assembly Instructions
-
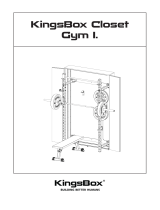 KingsBox KB13RI-004 Assembly Instructions
-
 KingsBox KB06RI-005 Assembly Instructions
-
 KingsBox KB04RI-015 Assembly Instructions
-
 KingsBox KB06MI-026 Assembly Instructions
-
 KingsBox KB06RI-026 Assembly Instructions
-
 KingsBox KB04MI-010 Assembly Instructions
-
 KingsBox KB08RI-006 Assembly Instructions


