13
Basic Operations Advanced Operations AppendixIntroduction
Click [OK] on the screen displayed
after importing, and then close
CameraWindow.
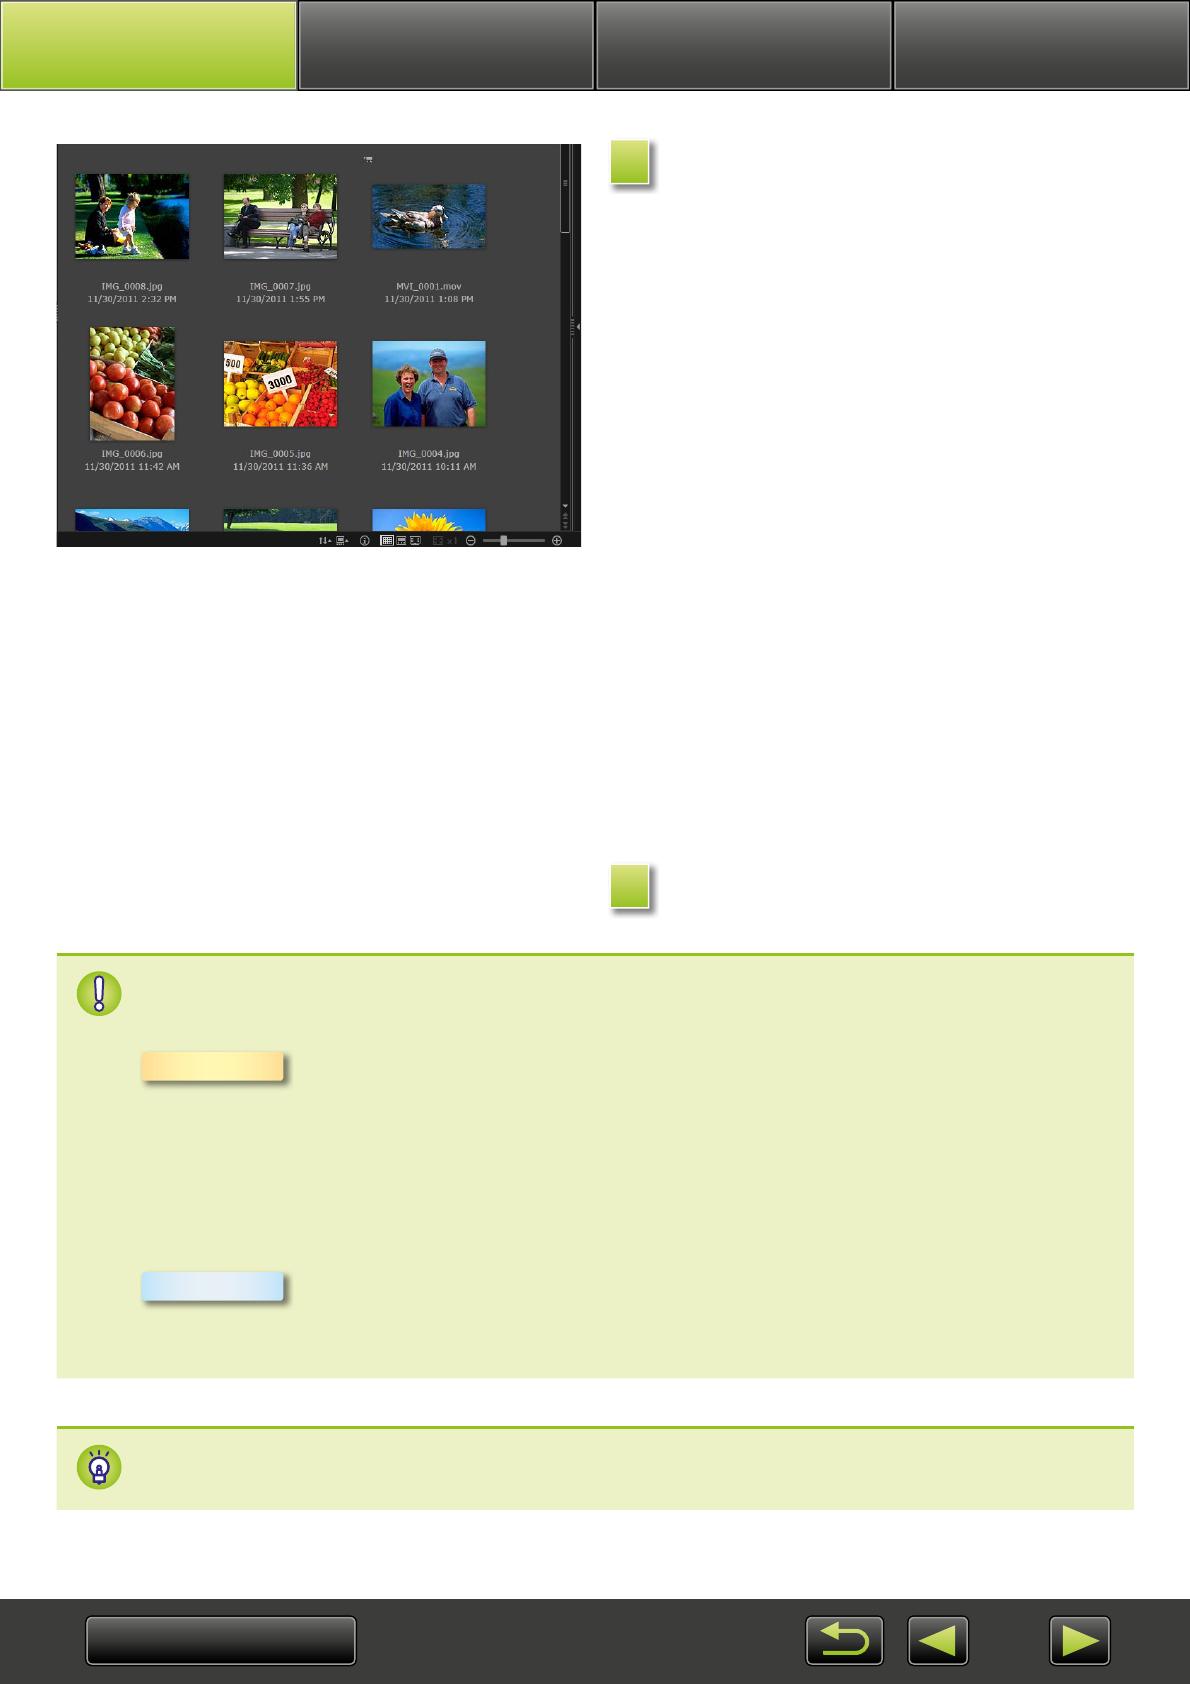
Imported images are now shown in the main
ImageBrowser EX window.
• On initial ImageBrowser EX startup, a screen
is displayed for specifying where to save
imported images. Follow the instructions dis-
played to choose the destination folder .
• Importing problems may occur if there are
too many images (more than 1,000) on the
memory card. In this case, use a memory card
reader to import the images. For instructions
on importing images from a memory card
reader, see “Importing Images from Memory
Cards”.
•
Movies take longer to import, due to the
larger file size.
• On camcorders, files that exceed 4 GB or
movies that are longer than 1 hour are
split and recorded as multiple files. When
these files are detected and you close
CameraWindow, a message is displayed. You
can click [Yes] to join the files.
Turn the camera/camcorder off.
Although ImageBrowser EX can still be used while files are being joined, operation
may be sluggish, and movie playback may not be smooth.
• Importing movies using built-in Windows 7 import functions may prevent them
from being shown in ImageBrowser EX. Instead, use CameraWindow for importing.
• CameraWindow may not start up in some versions of Windows, even when you
connect your camera/camcorder. In this case, click the ‘Start’ menu and select ‘All
Programs’ Æ ‘Canon Utilities’ Æ ‘CameraWindow’ Æ ‘CameraWindow’.
• If CameraWindow does not start up even when you connect your camera, click the
‘CameraWindow’ Dock icon.
Split movie files can also be joined by right-clicking their folder in ImageBrowser EX and choos-
ing the menu command to combine them.
4
5
Windows
Mac OS


