7
ENEN
WiFi connection
WARNING: Make sure that you are in a WiFi zone.
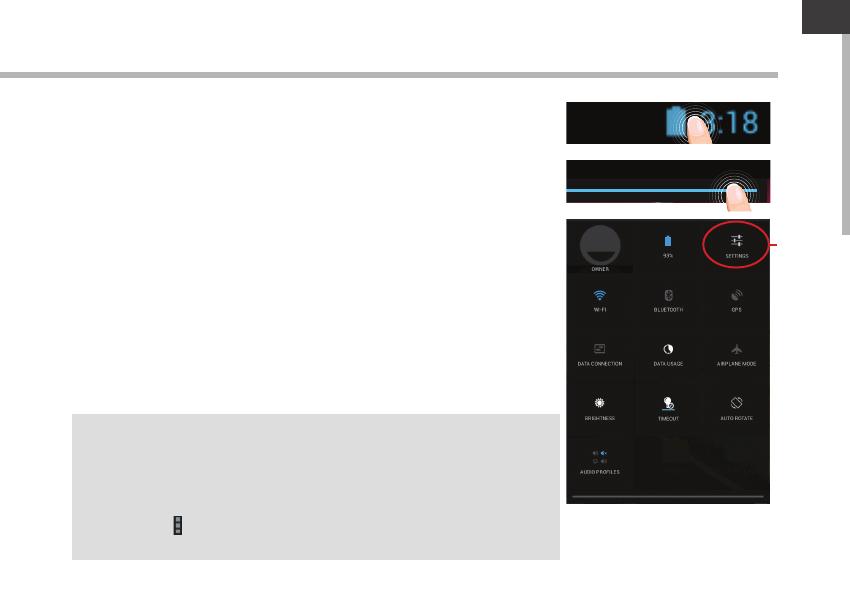
1. Touch and hold the time & battery icons to reveal the status bar.
2. Pull the blue line down to display the status dashboard.
3. Touch the “Settings” icon to open the settings menu.
4. In the “Wireless&networks”section, if the WiFi is o, slide the
WiFi switch to the “ON” position. Once the WiFi is on, the ARCHOS
will scan for WiFi networks in range.
5. Touch “WiFi” to display available networks.
6. Touch the name of network you want to connect to.
Private networks are shown with a lock icon and will require you
to enter your password.
TIPS:
- When entering a WiFi password, we recommend that you select
“Show password” so you can see the characters you are typing. To get
the correct WiFi password (or settings) for the network, contact the WiFi
network provider.
- To keep your WiFi connection ON when the device is on sleep, select
the Menu icon in the “WiFi” page. Then, select Advanced > Keep WiFi on
during sleep > Always.


 Manual del Usuario Archos Copper 101 Manuale utente
 Archos 90 Series User Copper 90 Manuale utente
 Archos Xenon Series User 80 Xenon Manuale utente