3
NOTE IMPORTANTE SUR LE CABLE D’ALIMENTATION
Tenir le câble d’alimentation par la fiche. Ne pas
débrancher la prise en tirant sur le câble et ne pas
toucher le câble avec les mains mouillées. Cela risque de
provoquer un court-circuit ou un choc électrique. Ne pas
poser l’appareil ou un meuble sur le câble. Ne pas pincer
le câble. Ne pas faire de noeud avec le câble ou l’attacher
à d’autres câbles. Les câbles d’alimentation doivent être
posés de façon à ne pas être écrasés. Un câble abîmé
peut provoquer un risque d’incendie ou un choc
électrique. Vérifier le câble d’alimentation de temps en
temps. Contacter le service après-vente PIONEER le plus
proche ou le revendeur pour un remplacement.
S002*_A1_Fr
Si la fiche d’alimentation secteur de cet appareil ne
convient pas à la prise secteur à utiliser, la fiche doit
être remplacée par une appropriée. Ce
remplacement et la fixation d’une fiche secteur sur le
cordon d’alimentation de cet appareil doivent être
effectués par un personnel de service qualifié. En cas
de branchement sur une prise secteur, la fiche de
coupure peut provoquer une sérieuse décharge
électrique. Assurez-vous qu’elle est éliminée
correctement après sa dépose.
L’appareil doit être déconnecté en débranchant sa
fiche secteur au niveau de la prise murale si vous
prévoyez une période prolongée de non utilisation
(par exemple avant un départ en vacances).
D3-4-2-2-1a_A1_Fr
ATTENTION
L’interrupteur /I STANDBY/ON de cet appareil ne
coupe pas complètement celui-ci de sa prise secteur.
Comme le cordon d’alimentation fait office de
dispositif de déconnexion du secteur, il devra être
débranché au niveau de la prise secteur pour que
l’appareil soit complètement hors tension. Par
conséquent, veillez à installer l’appareil de telle
manière que son cordon d’alimentation puisse être
facilement débranché de la prise secteur en cas
d’accident. Pour éviter tout risque d’incendie, le
cordon d’alimentation sera débranché au niveau de
la prise secteur si vous prévoyez une période
prolongée de non utilisation (par exemple avant un
départ en vacances).
D3-4-2-2-2a*_A1_Fr
Milieu de fonctionnement
Température et humidité du milieu de fonctionnement :
De +5 °C à +35 °C (de +41 °F à +95 °F) ; Humidité
relative inférieure à 85 % (orifices de ventilation non
obstrués)
N’installez pas l’appareil dans un endroit mal ventilé ou
un lieu soumis à une forte humidité ou en plein soleil
(ou à une forte lumière artificielle).
D3-4-2-1-7c*_A1_Fr
Ce produit est destiné à une utilisation domestique
générale. Toute panne due à une utilisation autre qu'à
des fins privées (comme une utilisation à des fins
commerciales dans un restaurant, dans un autocar
ou sur un bateau) et qui nécessite une réparation
sera aux frais du client, même pendant la période de
garantie.
K041_A1_Fr
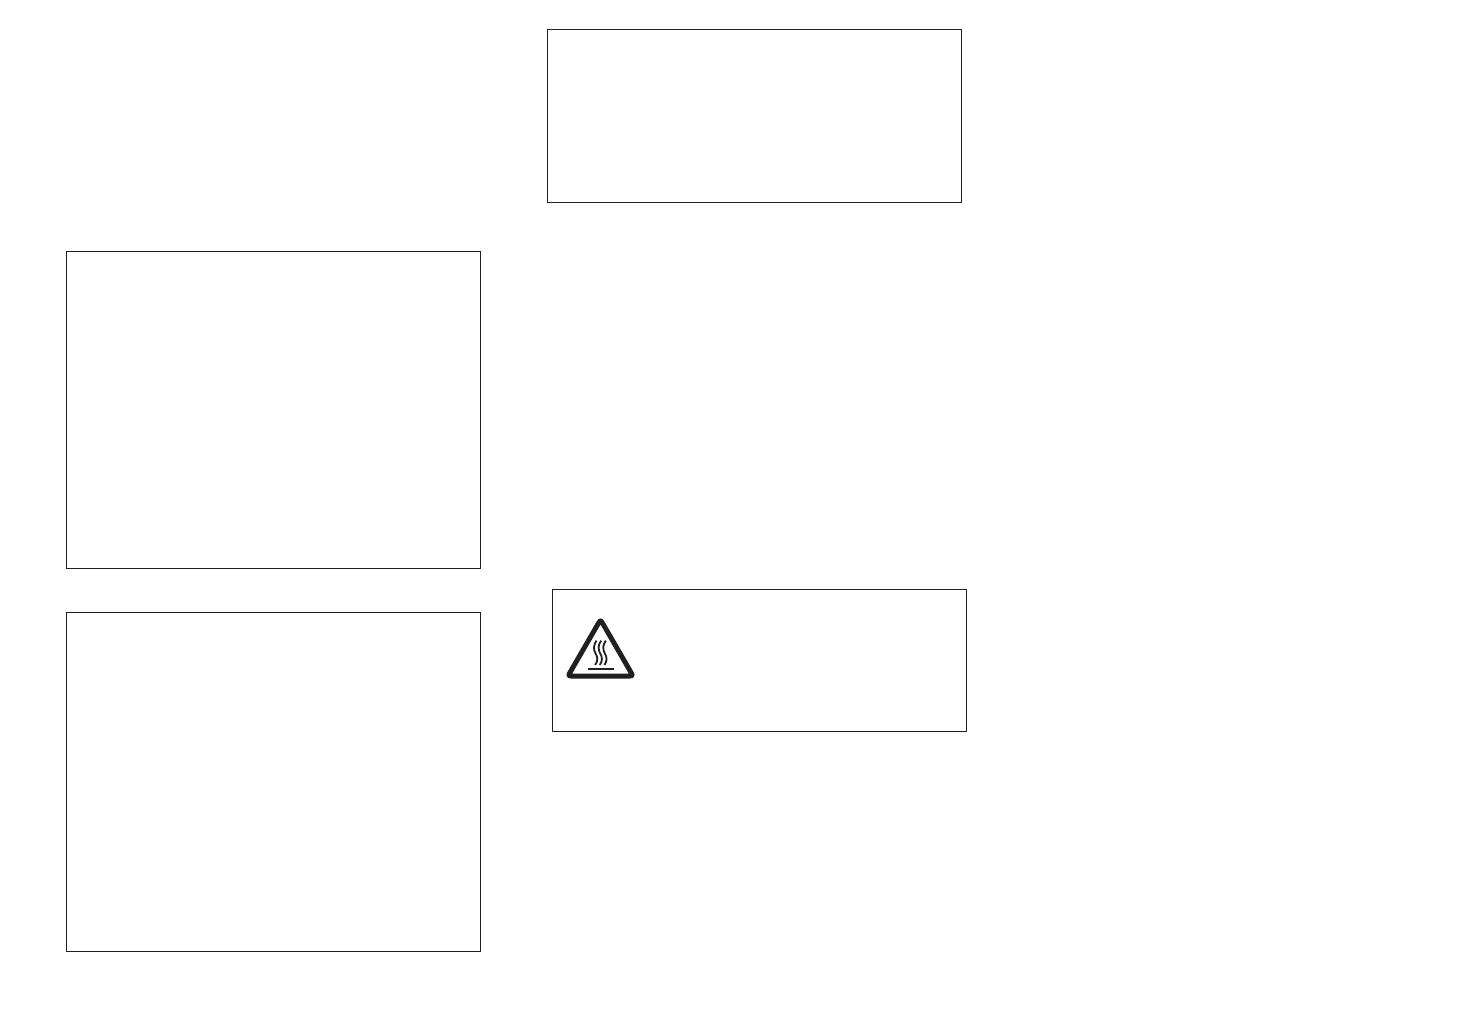
ATTENTION:
SURFACE CHAUDE. NE PAS TOUCHER.
La surface supérieure du dissipateur de
chaleur interne peut devenir très chaude
lorsque ce produit fonctionne en
permanence.
(A-30 uniquement)
Merci d’avoir acheté ce produit
Pioneer.
Veuillez lire entièrement ce mode d’emploi afin de
pouvoir faire fonctionner correctement le modèle que
vous avez choisi. Après avoir fini la lecture du mode
d’emploi, placez-le dans un endroit sûr afin de pouvoir
vous y référer plus tard
.
Table des
matières
01 Préparatifs
Contenu de la boîte . . . . . . . . . . . . . . . . . . . . . . . .4
Chargement des piles de la télécommande
(à l’exception de l’A-10) . . . . . . . . . . . . . . . . . . . . .4
Utilisation de la télécommande . . . . . . . . . . . . . . . .4
Installation de l’amplificateur . . . . . . . . . . . . . . . .4
02 Raccordement
Raccordements des câbles . . . . . . . . . . . . . . . . . .5
A propos de “bi-câblage (bi-wiring)”. . . . . . . . . . . .5
Connexion des câbles d’enceinte. . . . . . . . . . . . . .6
Raccordement des câbles audio . . . . . . . . . . . . . .6
Commande centralisée avec d’autres composants
Pionner (à l’exception de l’A-10) . . . . . . . . . . . . . .6
Branchement. . . . . . . . . . . . . . . . . . . . . . . . . . . . .6
03 Commandes et afficheur
Panneau avant. . . . . . . . . . . . . . . . . . . . . . . . . . . .7
Panneau arrière. . . . . . . . . . . . . . . . . . . . . . . . . . .8
Télécommande (à l’exception de l’A-10). . . . . . . . .9
04 Fonctionnement
Lecture . . . . . . . . . . . . . . . . . . . . . . . . . . . . . . . .10
Réglage de la puissance sur la mise en veille . . . .10
Lorsque vous utilisez l’unité comme amplificateur
(A-30 uniquement). . . . . . . . . . . . . . . . . . . . . . . . .10
Réalisation d’un enregistrement audio . . . . . . . .11
Pour régler un statut de veille automatique
(fonction de mise hors tension automatique). . . .11
Pour restaurer tous les réglages sur
les valeurs par défaut. . . . . . . . . . . . . . . . . . . . . .11
05 Informations supplémentaires
Guide de dépannage . . . . . . . . . . . . . . . . . . . . . .12
Nettoyage de l’unité. . . . . . . . . . . . . . . . . . . . . . .12
Spécifications . . . . . . . . . . . . . . . . . . . . . . . . . . . 13
A30_SYXE8-Fr.book Page 3 Thursday, February 16, 2012 11:51 AM


