Innanzitutto, posizionare la mano vicino al viso anché la webcam
possa riconoscere il comando. A questo punto l'indicatore della camera
diventa di colore blu.
Quando i tre led lampeggiano uno per volta (come a simulare un
caricamento), significa che la webcam sta interpretando il comando.
Quando i tre led lampeggiano contemporaneamente per una singola
volta, significa che il comando è stato riconosciuto.
Indicator Statuses
Camera Indicator / カメラインジケータ / 카메라 표시
등 / Leuchtanzeige der Kamera / Indicatore
Dello Stato Di Lavoro
The camera indicator is made up of four colors: red, yellow,
blue and green. Different combinations of light colors and
flicker frequencies represent different indications. They can
show the current working status to the users.
カ メ ラ イ ン ジ ケ ー タ は 、赤 、黄 、青 、緑 の 4 色 で 構 成 さ れ て い ま す 。ラ イ ト
がどう光るかで異なるステータスを表現しています。Tinyは、現在の処
理状況をライトを持ってお知らせしています。
카메라 표시기는 빨간색, 노란색, 파란색 및 녹색의 4 가지 색상으로
구성됩니다. 빛의 색과 깜박임 주파수의 다른 조합은 다른 표시를 나
타냅니다. 사용자들에게 현재 작업 상태를 표시할 수 있습니다.
Die Leuchtanzeige der Kamera zeigt vier Farben an: rot, gelb,
blau und grün. Verschiedene Farbkombinationen der Leucht
en und die Flimmerfrequenzen stehen für unterschiedliche
Anzeigen. Sie zeigen dem Benutzer den aktuellen Betriebsz
ustand an.
L'indicatore dello stato di lavoro è costituito da tre luci a led.
A seconda della loro configurazione, esso fornisce informazioni
su cosa stia facendo Tiny in quel momento.
I colori visualizzati sono 4: rosso, giallo, blu e verde.
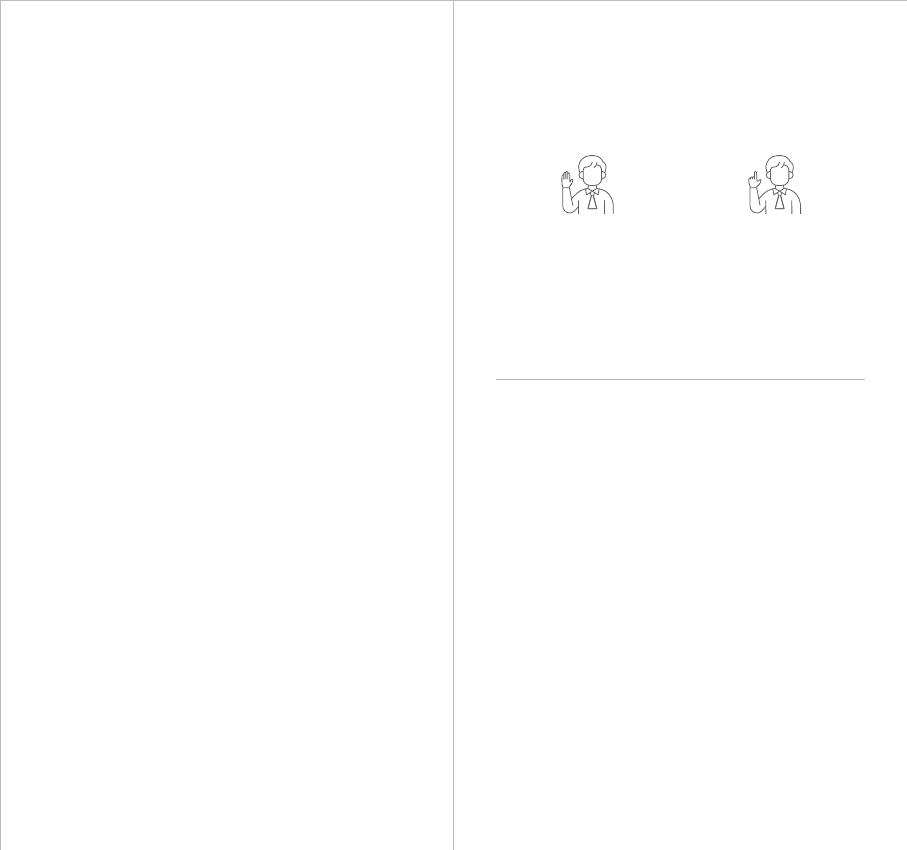
Select/Cancel Target
ターゲットの選択/キャンセル
대상 선택 / 취소
Ziel auswählen/abbrechen
Select/Cancel Target
2x Zoom in/out
2x ズームイン/ズームアウト
2 배 확대 / 축소
2x Hinein-/Herauszoomen
2x Zoom in/out
Gesture Control / ジェス チャー コントロ ー ル / 제스처
컨트롤 / Gestensteuerung / Gesture Control
OBSBOT Tiny has first of the kind implementation of gesture
control in AI webcam, empowering users to access a series of
functions such as select/cancel tracking target, zoom in/out with
natural simple gestures. No need to press the button or interrupt
your flow.
First of all, please put your hand nearby your face to do the
gestures and then the camera indicator light will turn blue. The
three blue lights flash one by one and then all of them flash once
together means your gesture is recognized successfully.
OBSBOT Tinyは業界初、AIウェブカメラでジェスチャーコントロールを実装し
ています。簡単なジェスチャーでトラッキングターゲットの選択/キャンセル、ズ
ームイン/アウトなどの一連の機能を実行できます。ボタンを押したり、余計な
操作をする必要はありません。
顔の近くで手でジェスチャーをしてください。その後、カメラのインジケータラ
イト が 青 に 変 わ りま す。3 つ の 青 いラ イト が 1 つ ず つ 点 滅 し、すべ て の ラ イト が 一
緒に点滅すると、ジェスチャーが正常に認識されます。
OBSBOT Tiny는 AI 웹캠에서 제스처 컨트롤의 종류에 따라 사용자가 선택/
취소 추적 대상, 자연스러운 간단한 제스처로 확대/축소 등 일련의 기능에
액세스할 수 있게 해준다. 버튼을 누르거나 흐름을 방해할 필요가 없다.
우선 제스처를 하기 위해 얼굴 근처에 손을 갖다 대면 카메라 표시등이 파란
색으로 바뀐다. 세 개의 파란 조명이 하나둘씩 번쩍이고, 그 다음엔 모두 한
번씩 번쩍이는 것은 당신의 몸짓이 성공적으로 인식된다는 것을 의미한다.
OBSBOT Tiny verfügt über eine völlig neuartige Form der Gestenste
uerung bei KI-Webcams, die den Benutzern eine Reihe von
Funktionen ermöglicht, wie z. B. Auswählen/Abbrechen der
Zielverfolgung, Vergrößern/Verkleinern mit natürlichen, einfachen
Gesten. Sie brauchen keine Taste mehr zu betätigen oder Ihren
Flow zu unterbrechen.
Bitte halten Sie zuerst Ihre Hand nahe an Ihr Gesicht, um die Gesten
auszuführen, dann leuchtet die Leuchtanzeige der Kamera blau
auf. Wenn die drei blauen Leuchten nacheinander aufblinken und
danach einmal alle gemeinsam aufblinken, wurde Ihre Geste
erfolgreich erkannt.
Tiny permette un controllo delle funzioni basilari senza la necessità di
premere bottoni o interrompere la lezione, il discorso e qualsiasi cosa
si stesse facendo.
Con il Gesture Control di Tiny, grazie alla AI della webcam, possiamo:
1) selezionare/cancellare il target del tracking
2) effettuare uno zoom in/out
6 7


